Printing is not yet perfected in Revit.
- Sometimes, some objects, like hatches, tags, linked objects, etc will be missing from the print. The workaround is to print using Raster printing. This takes more time to print.
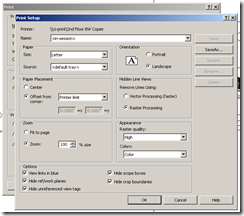
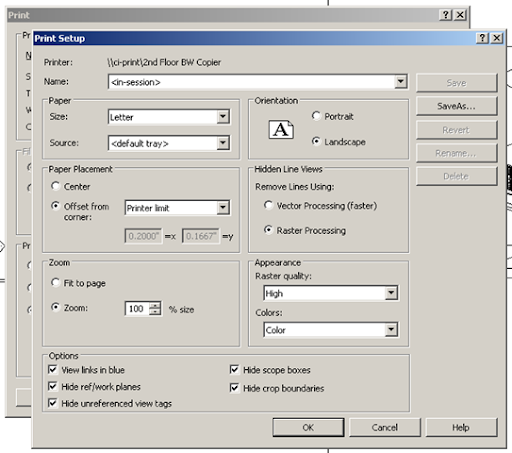
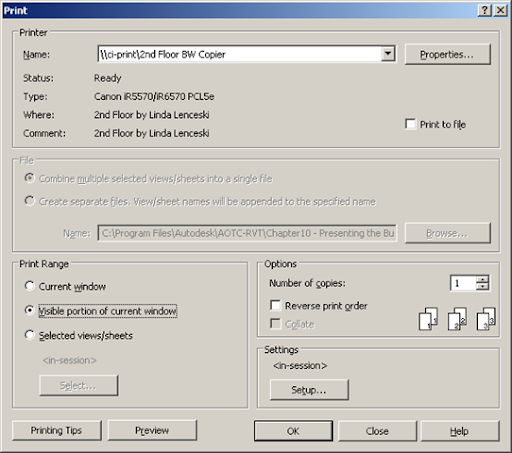
- RAC 2008 and 2009 defaults to 'Fit to print' option. You have to always go to Print setup and change this to print at 100% everytime you open the project in revit.
- Sometimes, after a hard day's work, Revit would decide not to change the paper size (especially after printing the set in one size and if you try to change the sheet size). Sometimes, it previews ok, but wont print correctly. This seems to be a Windows problem, because we have seen this behavior in both Design Review (DWF) and Adobe Acrobat Reader (PDF).
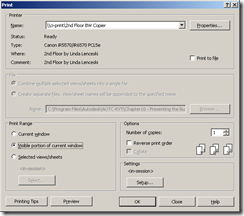
- Print Window option needs improvement. The option currently available is "Visible portion of current window" which just means that revit will match the lower left corner of the sheet with the lower left corner of the drawing area of the view in Revit. So, if you choose a Letter size paper and if your project is big and the scale is small (1/16") then revit will print beyond the 'visible portion of the current view" starting from the lower left corner. And, if you choose a Letter size paper and if your project is big or small and the scale is big(1/2") then revit will print only portion of the 'visible portion of the current view" starting from the lower left corner. However,if you choose a Letter size paper and if you project is big/small and if you use the fit to scale option, then revit will print the 'visible portion of the current view". (hmm...that is why Revit is defaulting to this option!!!!?)
- Print Window part 2: IF you want to print to scale an exact boundary to scale in a letter size (for a fax or something), you HAVE to crop the boundary of the view to suit your needs and then print the view with the option "current Window". You might want to duplicate the view, if you dont want to change the view. This is the suggested the workaround from Autodesk.
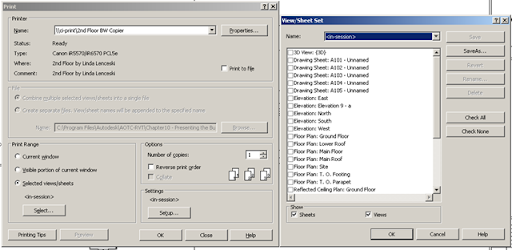
- Batch plot: You can use the "selected views and sheets" option to batch plot. Quite handy. However, you cannot preview the sheets after selecting this option. The workaround is to first do the print setup and preview with the option "current Window" and after you are satisfied, you can switch to "selected views and sheets" option
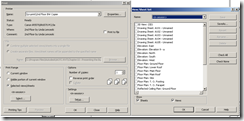
- Batch Plot 2: When you select sheets/views, which batch plotting, unchecking the Show 'sheets' or 'views' option does NOT deselect the selected views. To select a new set of sheets/views, you have to "check none" and then go about selecting views or sheets. If you dont "check none" Revit would still go ahead and print supposedly unnecessary sheets / views.
- If you work on a big project and if you batch plot, 2GB RAM may not be sufficient. You will need 4GB RAM with 3GB switch turned on or a Windows 64 bit version OS with more than 4GB RAM.
- Autodesk has released a Batch Print utility for subscription customers. This opens a new instance of Revit and prints in the background. The memory issues seem to be lesser here. Autodesk has just released a RAC version of this software.


No comments:
Post a Comment