Friday, September 12, 2008

Crop region and Annotation crop

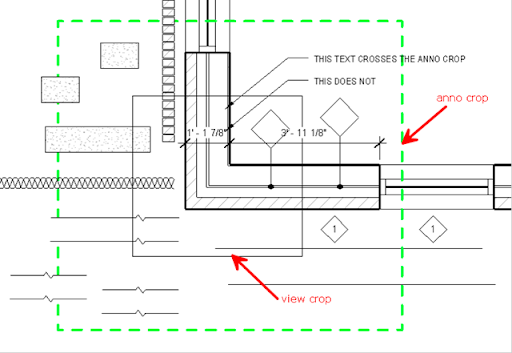
Here is a view that has annotation crop shown in green; the view crop is shown but the view is not cropped.
image

After the view is cropped, it looks like:
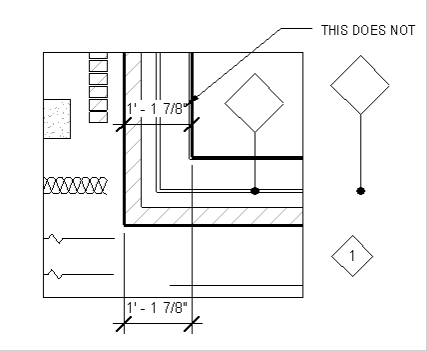
image

The View crop (boundary) crops the

  • model elements
  • detail components
  • repeating details
  • filled regions
  • Insulation, etc.
  • detail lines

It does not crop:

  • annotation tags
  • Text objects

The annotation crop crops both the text and annotation tags.

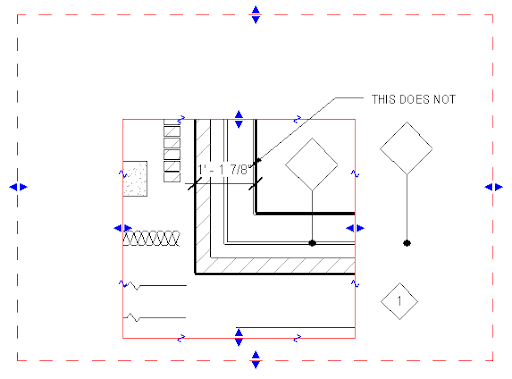
Dimensions - get cropped by both the view crop as well as the anno crop. If any one of the witness points of a DIM is not within the view crop region, then Revit does not show that particular string. And if the DIM string extends beyond the anno crop, it is not shown.
image

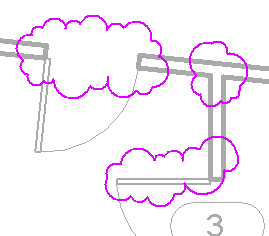
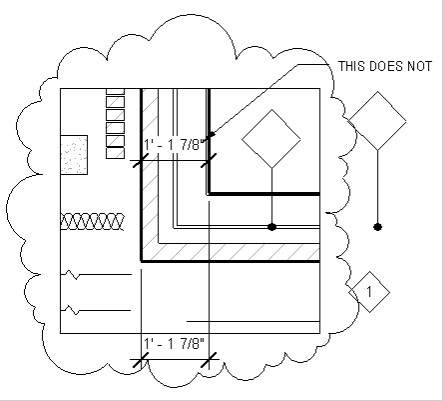
If we want to draw anything outside the view crop boundary, it is not possible. (One can draw stuff on sheet!) There may not be any circumstances that require it. However, Revit allows us to draw Revision clouds outside the boundary. (Thank God!)
image

Quite nuantic!

Tuesday, September 9, 2008

Multiple Tags

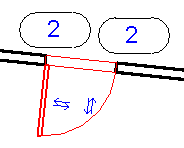
Whenever we tag an object with Revit, for eg. a door, it does not allow us to create two tags for the same object.

However, if we finish the command (by clicking image ) then Revit allows us to tag the same object again.

image

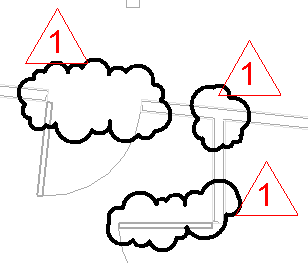
This may not seem to be of much use, but if you tend to draw a bunch of revision clouds in the same command,

image

then you might be able to tag individual revision clouds one by one (after clicking the modify button, of course).

image

Monday, September 8, 2008

Noteblock vs Schedules

Can the Noteblock command be built inside the schedule command?

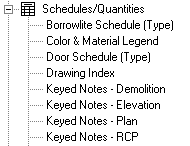
Noteblocks are grouped inside the schedule set in the Project Browser.
image

This misleads users to try to create a schedule of annotations using the schedule command.

I feel this distinction is not needed. Inside the Schedule creation command one could select Model or Annotation elements to schedule elements accordingly. 
image

(Or revit should group the noteblock separately in the project browser?)

Wednesday, September 3, 2008

Stairs and Handrail balusters termination

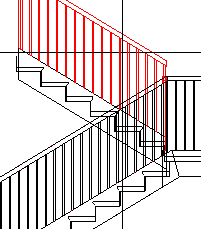
When we create a stair, the balusters get terminated by the stringer by default like this:

image

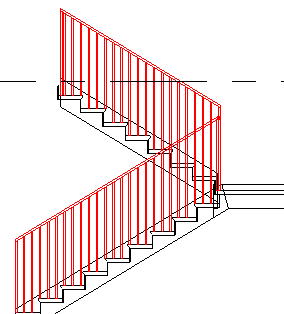
When we flip the railing with the image control, the balusters terminate at the treads. Which is nice!

image 

Editing the sketch using the image button, and moving the railing line inside the stair width also results in the same scenario.

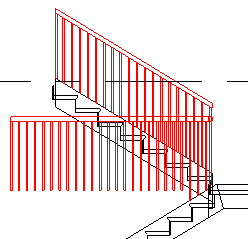
However, when we move the railing line outside the stair width, it looks like:

image

Changing the options available in the options bar like

image

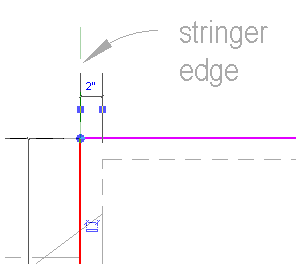
does not solve this. Aligning the sketch with the stringer corrects it.

image

Tuesday, September 2, 2008

Copy paste dimensions mystery

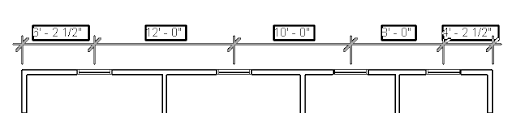
I opened a simple training file. Created a string dimension of all the windows in the level 1 view.

 image lvl 1

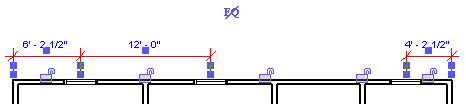
Copied all but one windows to the level 2. Copied and paste aligned the dimension string. Revit omitted the dimension that referred to the missing window. That's fine. But the dimensions stayed as a string.

image lvl 2

When I selected the dimension, Revit showed two locks for the missing dims.

Even though the dims were not visible (or there!) Revit thinks it is there.

image lvl 2

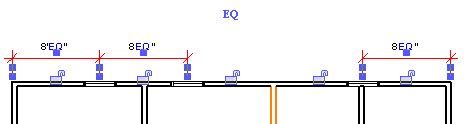
When I clicked the EQ to make them equally constrained, Revit showed this:

image  lvl 2

and an error msg that the wall conflicted with an insert...

I looked at the level 1 view....there IS the window!!!

image lvl 1

It looks like, the one of the dim witness lines on level 2 is referring to the window on the lower level (level1).

When I copied and pasted the DIM string, revit attached all witness lines that had proper references, and for any witness lines that didnt get a reference in the pasted level, Revit kept the copied from reference and also made the dims not visible!