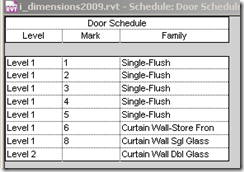
Curtain wall panel doors hosted in a curtain wall acquired the level from the level of the curtain wall. In this example the CW goes from level 1 to 4 and the doors are hosted at level 1, 2 and 3.
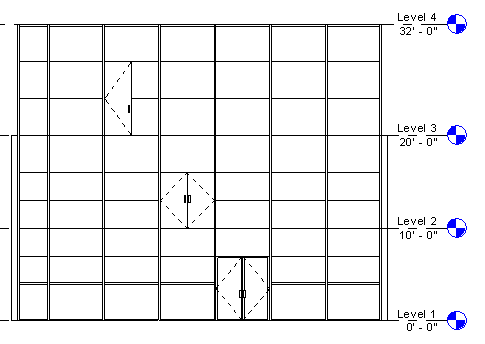
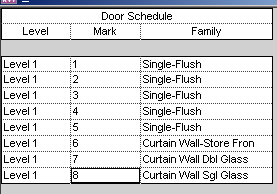
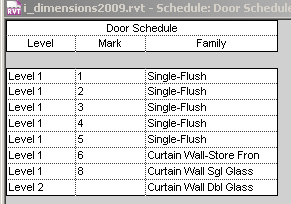
However, the schedule shows that all these CW panel doors are at level 1. This is the level the CW had as its "Base Constraint" when the doors were created.
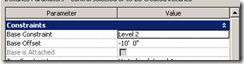
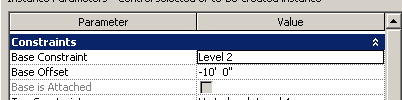
Changing the base constraint of the CW to level 2 does not change the level value for the doors. There might be other better workarounds to show the correct level. The one that is shown here is long and winded. We used this one:
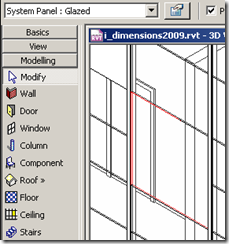
- Change the base constraint of the CW to the level you want to see in the schedule for a particular door. In this example, we made it Level 2 and then added a base offset of -10' , so that the CW looks the same after the level change.
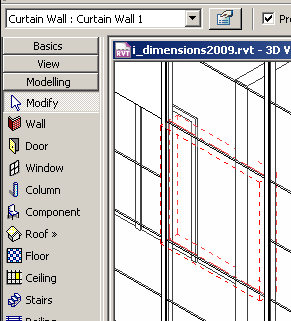
- Select the Door panel that is needed to be changed and swap this panel with the "CurtainWall : Curtain Wall 1" wall. (This is a default CW type. It has no mullions / grids but only one panel)
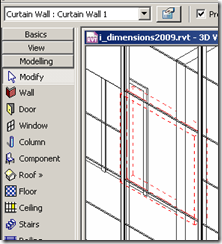
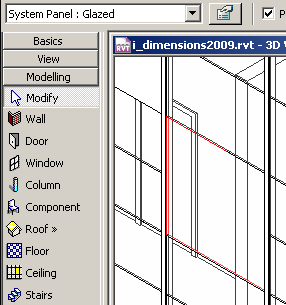
- Now TAB select the panel inside this "Curtain Wall : Curtain Wall 1" wall
and swap this with the door panel.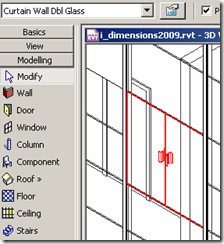
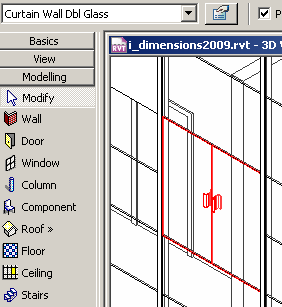
(You should NOT swap it with the whole "Curtain Wall : Curtain Wall 1" but the panel inside this CW. - Now the schedule should show Level 2 for that particular door ("Curtain wall dbl glass"):
- You might have to repeat relevant steps to change other doors. Changing the base constraint of the original CW back to Level 1 without and base offset does not affect the doors!


2 comments:
very good one. It saved my day.
cheers.
I just tested a minor tweak to this fix -
Create a curtain wall style that has the desired door type as the curtain wall panel, and no mullions, and use that as the panel. IT worked for me, and saved a step
CP
Post a Comment